×
- Hello
- Login or Register
- Quick Links
- Live Chat
- Track Order
- Parts Availability
- RMA
- Help Center
- Contact Us
- Shop for
- BMW Parts
- BMW Accessories

My Garage
My Account
Cart
Genuine 2005 BMW Z4 Transmission Assembly
Trans Assembly- Select Vehicle by Model
- Select Vehicle by VIN
Select Vehicle by Model
orSeries
Model
Year
Select Vehicle by VIN
For the most accurate results, select vehicle by your VIN (Vehicle Identification Number).
6 Transmission Assemblies found
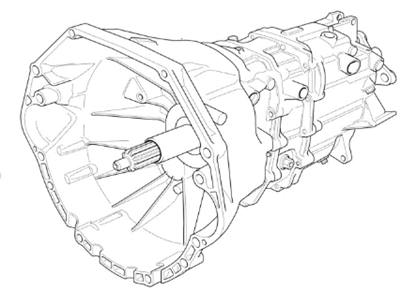
2005 BMW Z4 Exchange 5 Speed Gearbox
Part Number: 23007533112$2730.65 MSRP: $3708.14You Save: $977.49 (27%)Ships in 1-3 Business DaysProduct Specifications- Item Weight: 109.70 Pounds
- Condition: New
- Fitment Type: Direct Replacement
- SKU: 23007533112
- Warranty: This genuine part is guaranteed by BMW's factory warranty.
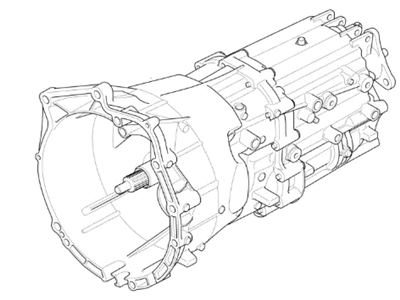
2005 BMW Z4 Exchange 6 Speed Gearbox
Part Number: 23007519538$3365.19 MSRP: $4577.92You Save: $1212.73 (27%)Ships in 1-3 Business DaysProduct Specifications- Item Weight: 109.70 Pounds
- Condition: New
- Fitment Type: Direct Replacement
- SKU: 23007519538
- Warranty: This genuine part is guaranteed by BMW's factory warranty.
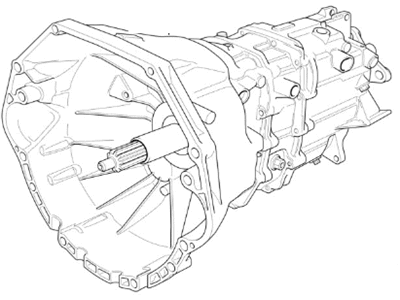
2005 BMW Z4 Exchange 5 Speed Gearbox
Part Number: 23007526436$4027.21 MSRP: $5006.07You Save: $978.86 (20%)Ships in 1-3 Business DaysProduct Specifications- Item Weight: 107.70 Pounds
- Condition: New
- Fitment Type: Direct Replacement
- SKU: 23007526436
- Warranty: This genuine part is guaranteed by BMW's factory warranty.
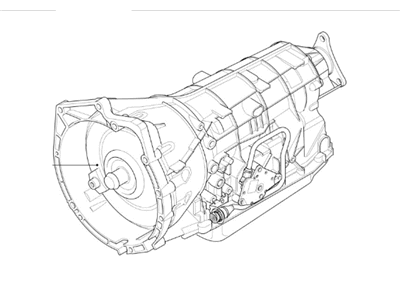
 Product Specifications
- Other Name: Exch. automatic transmission EH; Transmission
- Item Weight: 211.70 Pounds
- Condition: New
- Fitment Type: Direct Replacement
- SKU: 24001423931
- Warranty: This genuine part is guaranteed by BMW's factory warranty.
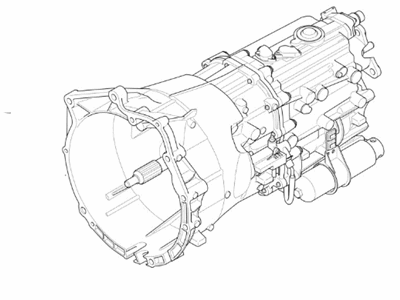
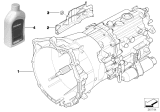 Product Specifications
- Other Name: Transmission
- Item Weight: 203.90 Pounds
- Condition: New
- Fitment Type: Direct Replacement
- SKU: 23017547990
- Warranty: This genuine part is guaranteed by BMW's factory warranty.
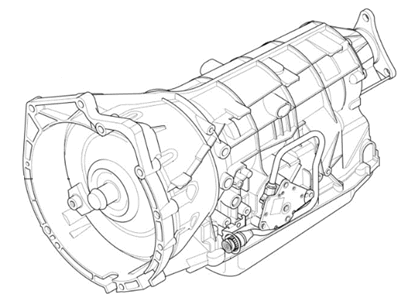 Product Specifications
- Other Name: Exch. automatic transmission EH; Transmission
- Item Weight: 215.60 Pounds
- Condition: New
- Fitment Type: Direct Replacement
- SKU: 24001423933
- Warranty: This genuine part is guaranteed by BMW's factory warranty.
2005 BMW Z4 Transmission Assembly
Are you in need of a high-quality yet affordable OEM 2005 BMW Z4 Transmission Assembly? Look no further. Our website boasts an extensive selection of genuine 2005 BMW Z4 Transmission Assembly, all priced competitively. Plus, our top-notch customer service and speedy delivery options ensure a seamless shopping experience for you.
2005 BMW Z4 Transmission Assembly Parts Questions & Experts Answers
- Q: What are the steps required for the operation involving automatic Transmission Assembly removal and installation on 2005 BMW Z4?A: This operation must be well planned and has to be well equipped preferably by a good lift or support equipment. First you must remove the negative battery terminal then safely lift the vehicle up using jack stands which will enable one to tackle the transmission removal. Take off both the engine/transmission under-shield as well as the front reinforcement brace, starter motor and exhaust system, heat shield and drive shaft. Remove the automatic transmission fluid, then disconnect the selector cable, and also locate the positions of the connectors of the transmission wiring harness before letting them go. Remove the nuts and bolts that fasten fluid cooler line brackets and loosen the fluid lines keeping in mind that there is such thing as fluid spillage. There are tap screws situated at the backside of the torque converter, which you get by removing the plug located at the engine/transmission adapter plate or the crankcase you then undo the three bolts while supporting the transmission using a jack. Lose the heater/ventilation inlet air ducting and then wire the engine from beneath. Remove the bolts fastening the lower transmission rubber mountings, then take off the crossmember and lower the engine as well as the transmission almost to the firewall. Remove the engine to transmission bolts and push the transmission back, while retaining the torque converter with a lever. Slowly pull out the transmission and retention of the torque converter completely, also if required, provide sufficient support to the engine. For installation twist the torque converter into the correct orientation in relation to the drive plate before mating the transmission to the engine. Line up by making use of a template, then later on, bolt in place and torque the engine-transmission fasteners. For any further installation, do it vice versa, make sure all the fasteners have reached their required torque, inspect the condition of fluid line O-rings, and then refill the trans with the right fluid once done.


