×
- Hello
- Login or Register
- Quick Links
- Live Chat
- Track Order
- Parts Availability
- RMA
- Help Center
- Contact Us
- Shop for
- BMW Parts
- BMW Accessories

My Garage
My Account
Cart
Genuine BMW 428i Door Latch Assembly
Door Latch- Select Vehicle by Model
- Select Vehicle by VIN
Select Vehicle by Model
orSeries
Model
Year
Select Vehicle by VIN
For the most accurate results, select vehicle by your VIN (Vehicle Identification Number).
2 Door Latch Assemblys found
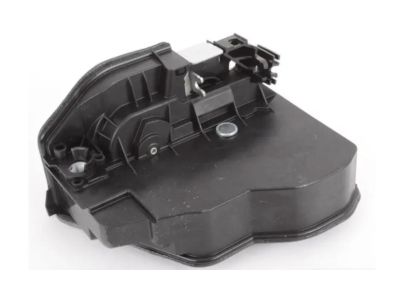
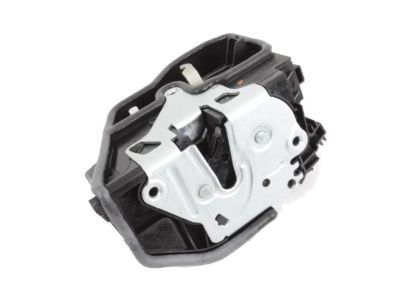
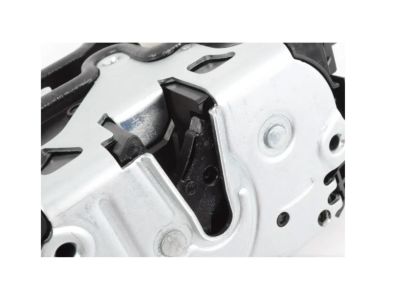
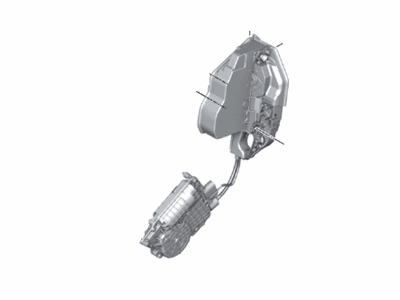
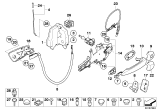
BMW 428i Left System Latch
Part Number: 51217229461$220.49 MSRP: $283.59You Save: $63.10 (23%)Ships in 1-3 Business Days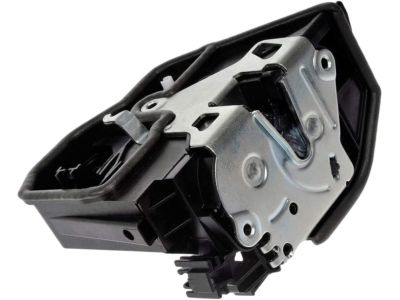
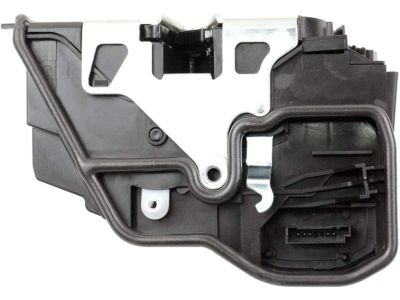
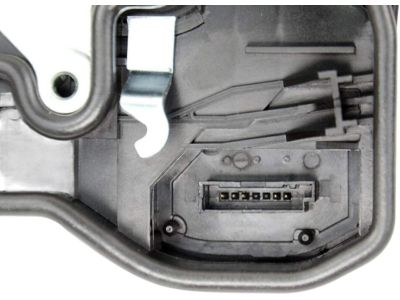
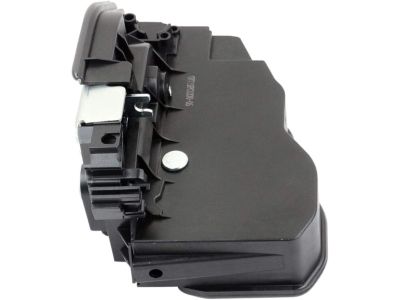
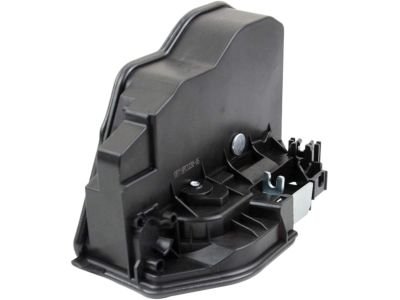
BMW 428i Right System Latch
Part Number: 51217229458$220.49 MSRP: $283.59You Save: $63.10 (23%)Ships in 1-2 Business Days
BMW 428i Door Latch Assembly
From a reliability as well as performance standpoint the BMW 428i Door Latch Assembly represents BMW's dedication to their brand. The Door Latch Assembly from BMW serves to maintain door closure throughout driving operations thus providing dual benefits of passenger safety and driving convenience for all 428i model owners. The car Door Latch Assembly distinguishes itself in automotive markets by providing manual and automatic locking capability which makes it effective and versatile among other options. The Door Latch Assembly accommodates all BMW 428i models between coupe, convertible and gran coupe versions which indicates its application potential across the entire BMW product range. The Door Latch Assembly of vehicles is essential for efficiency because it stops unauthorized entry and creates a secure lock-and-key mechanism that protects the vehicle systems. The assembly design presents the manufacturer's technical brilliance which directly enhances both driving performance and handling characteristics of the 428i. The car Door Latch Assembly functions with special features that allow users to activate central locking systems which combines practicality with improved user satisfaction. Every journey in a the brand 428i benefits from the manufacturer's commitment to quality because the Door Latch Assembly provides security and pleasure to the automaker 428i users.
If you are looking for OEM BMW 428i Door Latch Assembly, we highly recommend to shop with us. Not only do we offer budget friendly prices, but we also provide fast delivery. In addition, we have a hassle-free return policy on all genuine BMW 428i Door Latch Assembly that come backed by the manufacturer's warranty.
BMW 428i Door Latch Assembly Parts Questions & Experts Answers
- Q:How to remove and install the Door Latch Assembly on BMW 428i?Posted by Myrta M.A:Do not use silicone lubricant on door latch; latch faults have been traced to silicone contamination. Remove door trim panel. Carefully peel off vapor barrier covering inner door cavity. Caution - Use care when peeling back vapor barrier; a damaged vapor barrier should be replaced to prevent possible water leaks. Working inside door: disconnect Bowden cable from latch by pulling up. Note - When working on driver's door, make sure locking pin is correctly seated in mounting of door latch. On Gran Coupe models, pry out rubber sealing plug from lower edge of door and loosen nut behind plug to allow movement of the door window guide to aid in latch removal. Release locking rod from latch by prying rod off latch to remove; unlock and disconnect harness connector; remove Torx T30 latch fasteners holding latch. Disengage latch from lock pin and remove latch assembly from inside door by turning lock and maneuvering out from below door reinforcement bar. Note - When installing driver's door latch, be sure the locking pin is correctly seated in its mount. Prior to installing door latch, be sure door lock pin is in the installation position on Door Handle support. Door handle support shown removed from door for clarity. Installation is reverse of removal, keeping in mind the following: BMW calls for special tool 51 2 190 to align door lock; inspect seal on latch for damage; make sure inner door cavity vapor barrier is installed intact and leak-proof; hand tighten latch mounting screws to properly seat door latch seal before tightening; tighten screws in order: lower, upper, then inner; do not bend door lock button metal rod when inserting through door skin opening; route Bowden cable exactly as original or door may not open from outside; Gran Coupe models: tighten window guide nut and replace sealing plug.Answered by BMW Parts Specialist Javier / Oct 03, 2023