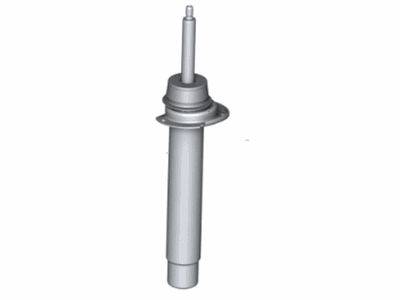
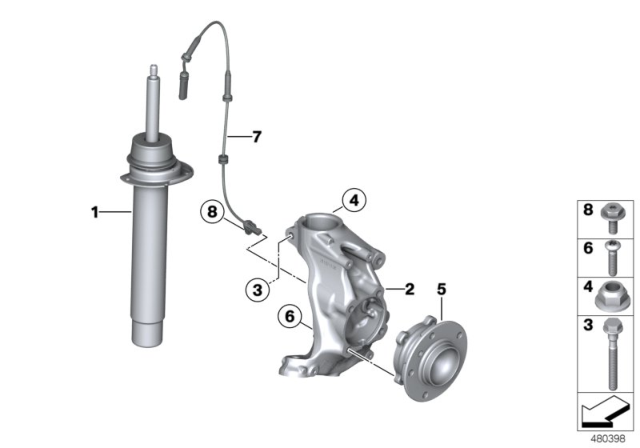
Replacemnt of strut, upper strut mount or spring involves removing and disassembling the strut assembly out of the vehicle. For vehicles with a production date newer than 05/2013, it is advisable to check the currently installed version of the upper strut mount, and if there are any bolts that are MB, it is recommended to upgrade to the mount with 'M10' bolts, and the mounts must be changed in pairs to maintain uniform stiffness. Attach the strut assembly to the steering knuckle. Insert the strut assembly into the steering knuckle after securing the steering knuckle in a vice. Then remove the brake line holder and fastener. Lastly, take the strut assembly out. If necessary, a special tool may be used to spread the steering knuckle pinch collar. Next, fix a spring compressor in a shop vise and set the coil spring between the holders, ensuring that there are three coils between the holders and then compress the spring. The strut nut must be removed using a special tool while the strut shaft is counterheld with a 6 mm Allen wrench. Do not use an impact tool for this step. Take the upper strut bearing and related parts off and relieve tension on the spring compressor, if a new coil spring is to be installed. Check the strut dust boot, rubber stop and spring pads for wear and replace as needed. The BMW ID number stamped by the end part indicates the spring that should be matched. The reassembly process occurs in reverse order of disassembly. It will use a new upper strut self-locking nut and it must be tightened fully before the spring compressor is released. Also do not use an impact tool to tighten. Make sure that the upper and lower spring pads are properly fitted to the spring seats before slowly and evenly releasing the spring compressor and allowing the spring to expand. It is recommended to have professional vehicle alignment after completion of the job.