×
- Hello
- Login or Register
- Quick Links
- Live Chat
- Track Order
- Parts Availability
- RMA
- Help Center
- Contact Us
- Shop for
- BMW Parts
- BMW Accessories

My Garage
My Account
Cart
Genuine 2010 BMW 335i Transmission Assembly
Trans Assembly- Select Vehicle by Model
- Select Vehicle by VIN
Select Vehicle by Model
orSeries
Model
Year
Select Vehicle by VIN
For the most accurate results, select vehicle by your VIN (Vehicle Identification Number).
5 Transmission Assemblies found
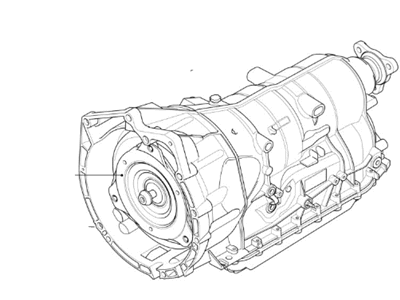
2010 BMW 335i Exchange Automatic Transmission Eh
Part Number: 24007564242$6233.50 MSRP: $7857.49You Save: $1623.99 (21%)Ships in 1-3 Business DaysProduct Specifications- Other Name: Exch. automatic transmission EH; Transmission
- Item Weight: 207.80 Pounds
- Condition: New
- Fitment Type: Direct Replacement
- SKU: 24007564242
- Warranty: This genuine part is guaranteed by BMW's factory warranty.
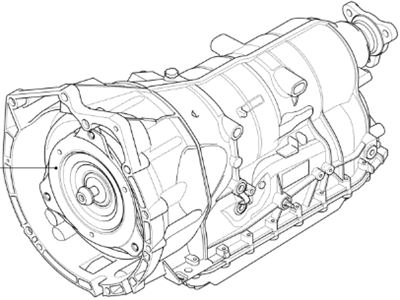
2010 BMW 335i Exchange Automatic Transmission Eh
Part Number: 24007572071$6489.74 MSRP: $8182.90You Save: $1693.16 (21%)Ships in 1-3 Business DaysProduct Specifications- Other Name: Exch. automatic transmission EH; Transmission
- Item Weight: 211.70 Pounds
- Condition: New
- Fitment Type: Direct Replacement
- SKU: 24007572071
- Warranty: This genuine part is guaranteed by BMW's factory warranty.
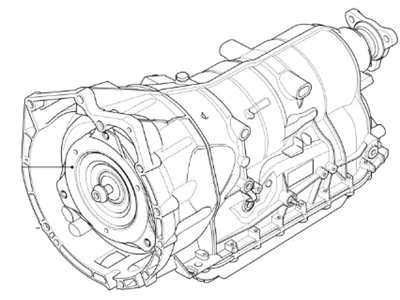
2010 BMW 335i Automatic Gearbox Eh
Part Number: 24007592493$7640.08 MSRP: $9639.49You Save: $1999.41 (21%)Ships in 1-3 Business DaysProduct Specifications- Replaces: 24-00-7-572-062, 24-00-7-576-162
- Item Weight: 200.00 Pounds
- Condition: New
- Fitment Type: Direct Replacement
- SKU: 24007592493
- Warranty: This genuine part is guaranteed by BMW's factory warranty.
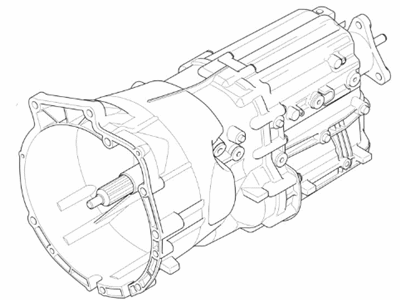
2010 BMW 335i Exchange 6 Speed Gearbox
Part Number: 23007571423$5078.13 MSRP: $6644.33You Save: $1566.20 (24%)Product Specifications- Other Name: Transmission
- Replaced by: 23007565215
- Item Weight: 110.80 Pounds
- Condition: New
- Fitment Type: Direct Replacement
- SKU: 23007571423
- Warranty: This genuine part is guaranteed by BMW's factory warranty.
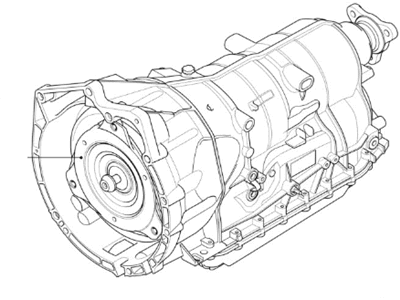 Product Specifications
- Item Weight: 207.80 Pounds
- Condition: New
- Fitment Type: Direct Replacement
- SKU: 24007566909
- Warranty: This genuine part is guaranteed by BMW's factory warranty.
2010 BMW 335i Transmission Assembly
Are you in need of a high-quality yet affordable OEM 2010 BMW 335i Transmission Assembly? Look no further. Our website boasts an extensive selection of genuine 2010 BMW 335i Transmission Assembly, all priced competitively. Plus, our top-notch customer service and speedy delivery options ensure a seamless shopping experience for you.
2010 BMW 335i Transmission Assembly Parts Questions & Experts Answers
- Q:How to remove and reinstall the Transmission Assembly on the 2010 BMW 335i?Posted by Aron M.A:Automatic transition removal is slightly different depending on the transmission that is currently installed with the following being for the GM (GA6L45R) 6-speed transmission on all models. Firstly, you have to remove the negative cable and before doing it, make sure to read the battery disconnection cautions. The electric radiator fan should be now removed, and the engine should be supported from above with the given hoist. Lift the vehicle using a professional automotive lift or jack stands, for a floor jack is insufficient. Depose splash shields and supporting brackets under the engine and the transmission as well as the chassis reinforcement plate if exists. Move to the exhaust area and the heat shields and other harnesses have to be unbolted and undipped as the case will be. Take out the aluminium fastener near the electrical connector brackets, you will need a special tool to do so and then just undo the retaining plate and free the electrical connector. Counter hold the clamping sleeve and loosen the nut, then take off the hold-down bolt and detach hydraulic lines to the transmission fluid cooler: some drippings are possible, so one should prepare for this and replace O-rings with new ones. The supporting to the transmission should be done carefully by using a suitable hoist and uninstall the fasteners and completely free the transmission cross-member. For xDrive models, disconnect the front driveshaft and in case of the rear driveshaft, it is necessary to support the center and unscrew the flex-disc from the transfer case, at the same time, it is impossible to let the driveshaft to hang. Advance the engine by hand so as to gain access to torque converter fasteners, then place a locking pin into the torque converter. Extract the mechatronics electrical connector and there is a small opening where you can insert a tool in order to shield the pins so that they do not have any contact with anything. There are still unused aluminum fasteners present again on the bell housing; simply, extract these bolts, then pull the transmission backward and downward and in the same process, ease the jack downwards until it fixes onto a firm surface and make sure that at no one point any line, hose or wire gets entangle. Prevent any tilting of the engine during the removal process, and to hold the torque converter you must use a particular tool. Purge the oil cooler lines with low pressure compressed air and using safety glasses clean the cooler with fresh ATF, do not reuse the ATF that has been used for cleaning. Check up the engine drive plate and the flywheel for additional wear and tear and replace them, an if the torque converter seal is wet of if it has been interfered with in some way or the other it has to be replaced. To install, rotate the flywheel until the bore is exposed; check the dowel sleeves and make certain the torque converter is seated properly. Connect the transmission to the engine, reuse all aluminum fasteners, all fasteners must be tightened in a sequence to obtain the final torque angle, fasten the torque angle tool to fasten a bolt while holding the bolt still to prevent damaging of the driveshaft flex-disc rubber. The rest of the installation process is performed in the reverse manner of removal and it is important to fit new sealing washers or O-rings to the ATF cooling line connections, set the gear shift mechanism and fill the transmission with clean ATF.Answered by BMW Parts Specialist Noah / Aug 11, 2025


