×
- Hello
- Login or Register
- Quick Links
- Live Chat
- Track Order
- Parts Availability
- RMA
- Help Center
- Contact Us
- Shop for
- BMW Parts
- BMW Accessories

My Garage
My Account
Cart
Genuine BMW Z4 Fog Light Bulb
Fog Lamp Bulb- Select Vehicle by Model
- Select Vehicle by VIN
Select Vehicle by Model
orSeries
Model
Year
Select Vehicle by VIN
For the most accurate results, select vehicle by your VIN (Vehicle Identification Number).
5 Fog Light Bulbs found
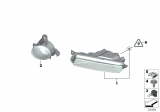
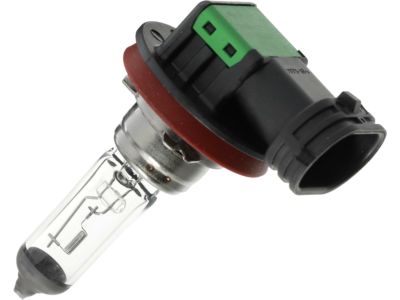
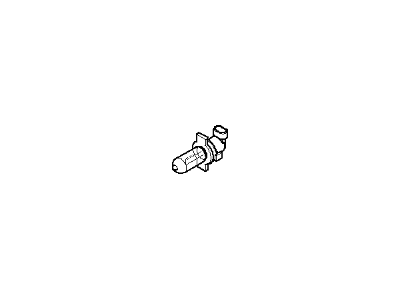
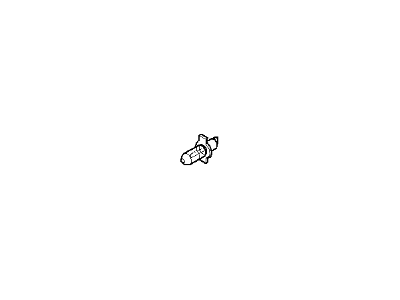
BMW Z4 Fog Lamp Bulb
Part Number: 63217160784$19.55 MSRP: $32.10You Save: $12.55 (40%)Ships in 1-3 Business Days
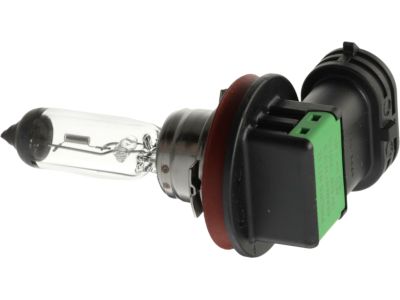
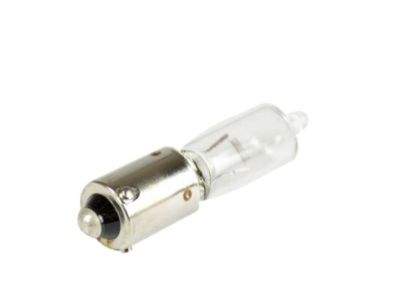
BMW Z4 Longlife Bulb
Part Number: 63217160788$16.15 MSRP: $26.52You Save: $10.37 (40%)Ships in 1-3 Business Days
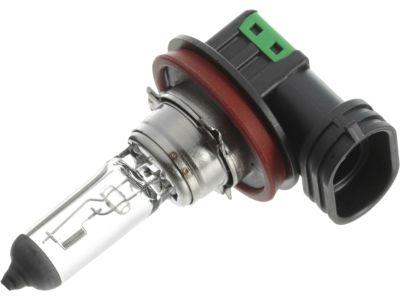
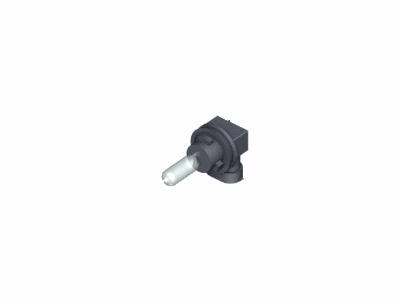
BMW Z4 Long Life Light Bulb
Part Number: 63217160781$12.22 MSRP: $20.06You Save: $7.84 (40%)Ships in 1 Business Day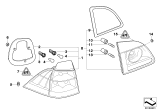
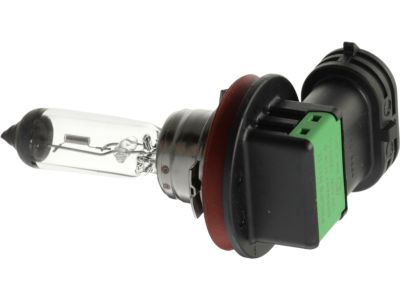
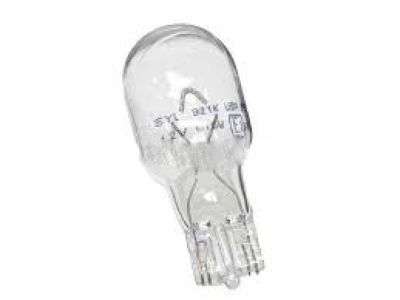
BMW Z4 Tail Light Longlife Bulb
Part Number: 63217160935$7.54 MSRP: $12.16You Save: $4.62 (38%)Ships in 1 Business DayBMW Z4 Fog Lamp Bulb
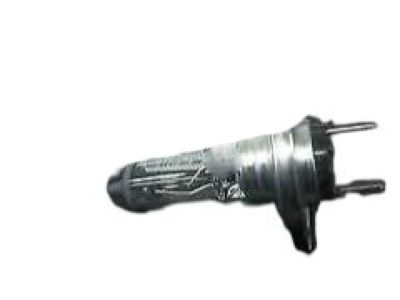
Part Number: 07119906503$15.64 MSRP: $25.68You Save: $10.04 (40%)Ships in 1-3 Business Days
BMW Z4 Fog Light Bulb
If you are looking for OEM BMW Z4 Fog Light Bulb, we highly recommend to shop with us. Not only do we offer budget friendly prices, but we also provide fast delivery. In addition, we have a hassle-free return policy on all genuine BMW Z4 Fog Light Bulb that come backed by the manufacturer's warranty.
BMW Z4 Fog Light Bulb Parts Questions & Experts Answers
- Q: What should you remember when replacing a Fog Light Bulb and Headlight Bulb to ensure safety and proper installation on BMW Z4?A:One should always remember that the bulb when being replaced may be extremely hot if the light has just been in use, and always clean metal to metal contact between the bulb and the bulb contacts and holder may be corroded or dirty. For bayonet-type bulbs, assure oneself that the contacts make a proper contact with the bulb contact, and make certain that the new bulb is of correct rating and clean especially the headlight and Fog Light bulbs. For halogen bulbs, use the wire connector with the external clips to release, and the bulb holder assembly rotating in anti-clockwise direction for removal. Do not touch the glass part of the new bulb through bare hand, rather use a tissue paper or a clean cloth as this may cause very rapid bulb failure through condensation and oil. On the Xenon bulbs, unscrew the battery negative lead, and then remove the plastic cover together with the igniter unit, and then twist the retaining ring to release the Xenon bulb. For front parking lights, the bulb holder has to be turned in an anti-clockwise position to remove it while for front direction indicators you have to push the tab and pull the clip before disconnecting the wiring connector. They are relatively easy to destroy: side marker lights are inserted by pushing the lens forward to remove it and fog ones can be pried from the bumper; the bulb is part of the holder. Rear light clusters - with bulb holder, the retaining clip or fastener should be unlocked to detach the holder after which the bulb can be twisted anti-clockwise to unlock. Trunk lid-mounted lights have clips that have to be removed in order to reach the bulb holder; tailgate lights involve removing the entire light unit, plus the trim panel. The high-mounted stop-light requires removal of its retaining clips and extraction of the wiring connector while in the case of the license plate light one has to pry out the lens to access the bulb, assure that its position is secure after replacement.
