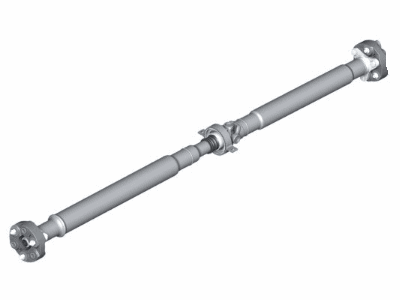
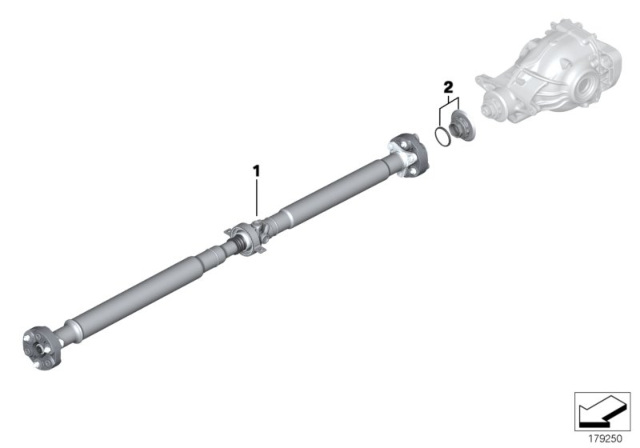
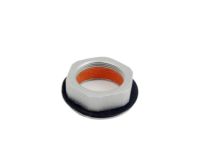
Raise the vehicle and support it safely, then remove the exhaust system and heat shields while marking the front mounting flanges and driveshaft sections with paint to maintain their original orientation. At the driveshaft front flex-disc, counterhold the bolt heads and remove the nuts at the transmission/transfer case output flange, discarding the old fasteners. To avoid damaging the flex-disc rubber, hold the bolts stationary while loosening the nuts, and hang the front section of the driveshaft from the body using stiff wire. Some models may have a vibration damper over the flex-disc, which can be removed similarly. Use a pry bar or equivalent tool to brace the driveshaft at the center universal joint, then at the rear differential, fully loosen the insert nut clockwise with the appropriate special tools. When facing the rear of the vehicle, release the insert nut in the same clockwise direction. Avoid using the 12-point differential flange nut to counterhold the driveshaft, as this may damage the rear differential; instead, use a heavy-duty pry tool at the center universal joint. Separate the driveshaft from the rear differential at the insert nut only, ensuring to make matching marks on all parts if the differential flange needs to be removed for flex-disc replacement, and reassemble using new fasteners. Observe the correct loosening direction on the insert nut, as the locking compound may make removal difficult, and turning it the wrong way can damage the rear differential. Finally, remove the driveshaft center support bearing mounting nuts, and with assistance, pull down on the center of the driveshaft to facilitate its removal.