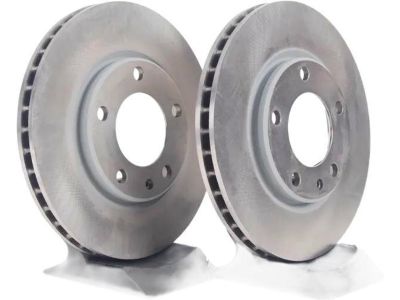
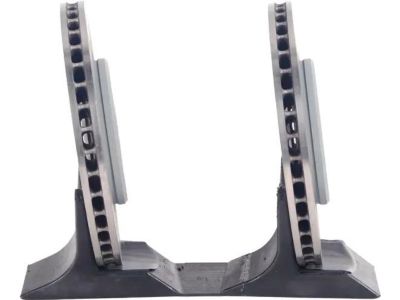
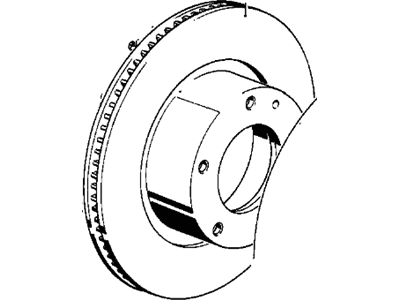
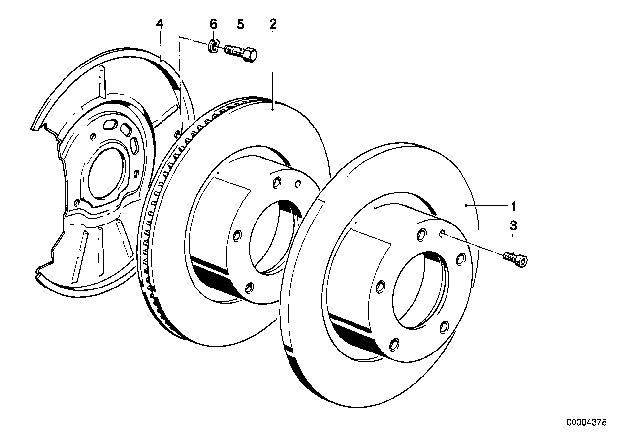
M3 brake rotors work best when positioned a specific way. The left takes an odd-numbered part number, while the right uses an even-numbered end. Start by locking the rear wheels and using the parking brake. Loosen front wheel bolts just a little, then lift the car up and remove the front wheels. Keep the brake caliper fluid hose connected during wheel removal, and hold the caliper assembly with mechanic's wire to give it support. Pull the brake caliper and bracket out, use your 6mm socket tool to take off the tight special shouldered recessed hex fastener, and apply penetrating lubricant if needed. You can free a stuck brake rotor by first loosening the hold-down bolt then spraying lubricant around the rotor's edge, using two wheel studs to gently tap the rotor off without damaging the flat part of the hub. When putting the parts back on, check and clean the rotor first. Apply anti-seizing compound to protect it, and tighten the retention bolt to 12 foot-pounds. Do the reverse to put it all together. Make sure you tighten the lug nuts in a crossing pattern, applying 66-81 foot-pounds of force to each pair. Simultaneously press down slowly on the brake pedal to set brake strength, then released it with repeated stops to get rid of buildup on the rotors. Check the rotor for surface defects, like pits and cracks, look for unevenness, and size up excessive ridges. Measure surface flatness and overall thickness, and replace if you spot any problems. A little surface wear is OK, but severe markings and bowing needs fresh finish or replacement. Before fitting new rotors, remove any protective covering from them. Then check that your hub runs straight, keeping in mind that too much run-out should be under 0.002 inch. To check your rotors right, lift the vehicle, take off the tire, fit the lug nuts back in place, then take out the brake pads. When measuring runout, use a dial indicator. You should replace rotors when the number exceeds 0.004 inches. Then check for thinness and flatness.