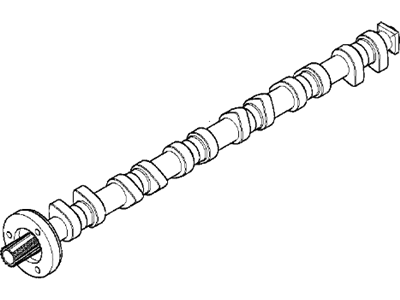
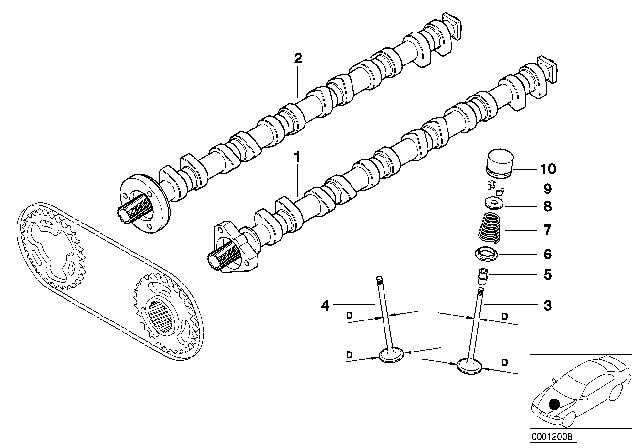
Some of the camshafts and VANOS units require specific service tools to fit and adjust and this should be carefully studied prior to the operation. Correct phasing of cams is important so that the piston does not hit the valves and cause drastic problems to the engine. First, get rid of the negative cable from the battery and make sure you go through the battery disconnection cautionaries you came across earlier. The air filter housing and ducts must be taken out, and the electric cooling fan as well as the cooling fan shroud. Then remove the engine covers and cylinder head cover, and the spark plugs should be removed with the spark plug bores being plugged so as not to allow any debris to get into the engine. Go ahead and pull off the VANOS unit and the primary camshaft chain tensioner cylinder with reference to the fact that the chain tensioner piston of the unit still carries a spring force. Foray down on the secondary chain tensioner and use a special tool or a small pin or a thin drift to lock the tensioner down. Take out the exhaust camshaft impulse wheel mounting nuts and impulse wheel together with the spring plate. Next, take off the intake camshaft sprocket mounting nuts and the spring plate marked front, and the Torx bolts the exhaust camshaft sprocket. Remove the exhaust and intake sprockets with the secondary chain thrust spacer and the splined shaft; be sure to align the splined shafts in order to reuse. , the exhaust camshaft splined sleeve and shaft, and the secondary chain tensioner mounting bolts, while the tensioner contains a retaining pin. Take out the sprocket mounting studs from the exhaust camshaft and lift the primary chain sprocket away from the exhaust camshaft and place the timing on the extremity of the exhaust camshaft. Located; Remove the locating studs from the intake camshaft and lift off the intake camshaft thrust spacer and impulse wheel, do not remove the Torx screws from the camshafts. Depress the cylinder head cover mounting studs from the centre of the cylinder head and the crankshaft locking tool. Pull the primary chain upwards and hold it with your hand and turn the engine with the wrench of the crankshaft vibration damper bolt in anticlockwise direction and rotate the engine up to 30 degrees to get the piston up from the T.D.C which will avoid piston to valve interference during the servicing of camshaft. Removal of the camshaft locking tools from the rear of the cylinder head as well as the intake camshaft bearing cap fasteners, and then, removal of the bearing cap separately observing that you do not remove the other caps 2-6 at the same time. Insert the special tools to the cylinder head and screw the long bolts into the spark plug threads making the tensioning pins of the tool engaged into the bearing caps at the camshaft, be careful not to over Tighten the bolts. Pretension the intake camshaft bearing caps by rotating the eccentric shaft of the special tool then pull off the remaining intake camshaft bearing cap bolts. Gradually loosen the tension on the eccentric shaft and then remove special tools while keeping the bearing caps under consideration set in order. Take out the camshaft and place it carefully aside, do the same for the exhaust camshaft. If the cylinder head is being removed, the hydraulic lifters will remain in their bores, best to secure them with a hydraulic lifters special or, if required use a magnetic pick-up tool. When the lifters are either secured or removed, carefully lift out the camshaft bearing carriers out of the cylinder head make sure the hydraulic lifters do not fall off and then put a mark on each one of them to show where they are to be reinstalled in their original bores; put the lifters in an upright position.