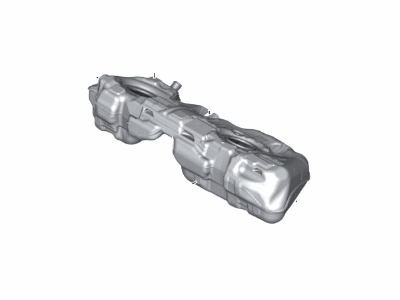
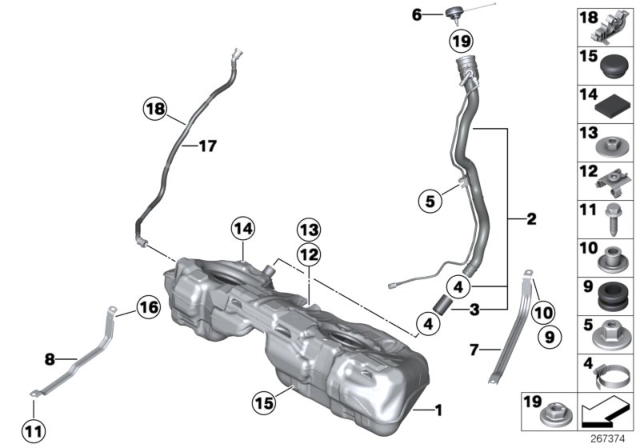
Start off by draining the fuel tank and make sure the vehicle is raised and properly supported by a professional automotive lift or jack stands. Detach the parking brake cables and remove the driveshaft. Following that, eliminate the carbon canister, the left and right fuel tank shields found ahead of the back wheels by removing the expanding rivets and screws. In order to remove the heat shield, it is necessary to remove the nut on the heat shield and also unclip the tension strap. At the parking brake cables, unclip the guide tubes from the clips and pull the cables until they can be disconnected. Ensure the parking brake cables remain attached to the brake lever. Detach the snap fastener from the fuel tank vent line and pull it off. Release the hose clamps at the fuel filler neck, which cannot be removed until the fuel tank is lowered. With the help of an appropriate jack, support the fuel tank from beneath and subsequently remove the fastener as well as the fasteners for both the tightening straps. Lower the fuel tank carefully so that the plug connection and fuel line connection to the supply module are accessible To lower the fuel tank from the vehicle, first disconnect the electrical connector of the fuel pump, by opening the lock and pressing the release tab to pull off the fuel delivery line. Then, lower the fuel tank from the car. To install, reverse the above steps, replacing any broken clips, straps, or fasteners. Hand installation of the parking brake guide tubes. After securing the guide tubes, ensure that the grommets are pressed into the body.