×
- Hello
- Login or Register
- Quick Links
- Live Chat
- Track Order
- Parts Availability
- RMA
- Help Center
- Contact Us
- Shop for
- BMW Parts
- BMW Accessories

My Garage
My Account
Cart
Genuine 1998 BMW M3 Transmission Assembly
Trans Assembly- Select Vehicle by Model
- Select Vehicle by VIN
Select Vehicle by Model
orSeries
Model
Year
Select Vehicle by VIN
For the most accurate results, select vehicle by your VIN (Vehicle Identification Number).
3 Transmission Assemblies found
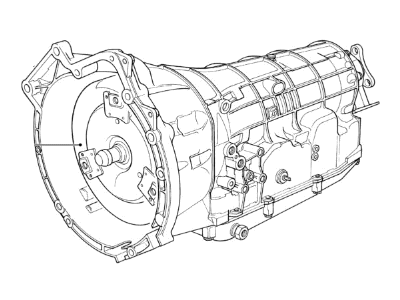
1998 BMW M3 Exchange Automatic Transmission Eh
Part Number: 24002228376$7908.81 MSRP: $9885.00You Save: $1976.19 (20%)Ships in 1-3 Business DaysProduct Specifications- Other Name: Exch. automatic transmission EH; Transmission
- Item Weight: 203.90 Pounds
- Condition: New
- Fitment Type: Direct Replacement
- SKU: 24002228376
- Warranty: This genuine part is guaranteed by BMW's factory warranty.
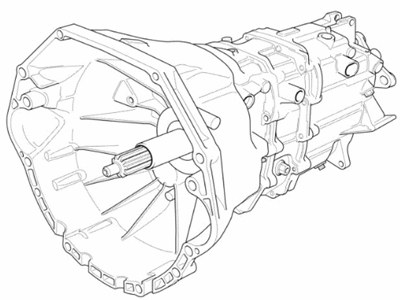
 Product Specifications
- Replaces: 23-00-1-434-306, 23-00-1-222-793
- Item Weight: 205.80 Pounds
- Condition: New
- Fitment Type: Direct Replacement
- SKU: 23001434485
- Warranty: This genuine part is guaranteed by BMW's factory warranty.
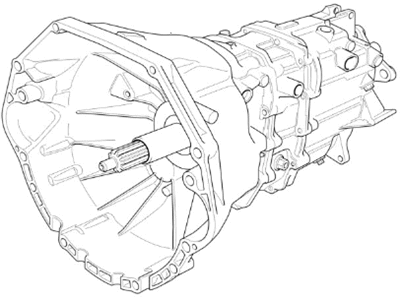 Product Specifications
- Other Name: Transmission
- Item Weight: 205.80 Pounds
- Condition: New
- Fitment Type: Direct Replacement
- SKU: 23007503993
- Warranty: This genuine part is guaranteed by BMW's factory warranty.
1998 BMW M3 Transmission Assembly
Are you in need of a high-quality yet affordable OEM 1998 BMW M3 Transmission Assembly? Look no further. Our website boasts an extensive selection of genuine 1998 BMW M3 Transmission Assembly, all priced competitively. Plus, our top-notch customer service and speedy delivery options ensure a seamless shopping experience for you.
1998 BMW M3 Transmission Assembly Parts Questions & Experts Answers
- Q:How to remove and install Manual Transmission Assembly on 1998 BMW M3?Posted by Nihat C.A:Unplug the car's battery, life the vehicle up with supports, take off the exhaust system, including the cross brace and heat shield. Unscrew the front coupler nuts with one wrench while loosening and taking out the back coupler bolts. Also note whether your vehicle has a vibration damper. Unscrew the driveshaft threaded sleeve with the special tool, remove the middle driveshaft mount, and lower the driveshaft while holding it in place with wire. Pull the retainer and washer off, then take out the shift selector rod. Unscrew the hex-head bolts holding the shift rod bracket and remove the whole bracket. Unbolt the master cylinder from the clutch while keeping its hose attached, then take off the heat shield and remove the bolts that attach the flywheel speed and position sensors. Make sure you put the sensors back where they belong to avoid having to fix engine problems later. Disconnect the power wire of the reverse light switch, put the transmission on a stand, unscrew its mounting bolts, and take away the cross member. Then you can carry the transmission to its resting place on the front axle carrier. Carefully loosen and remove the bolts that keep the engine's transmission flywheel cage in place while keeping two washers when you do. Then, pull the transmission away from the engine and let it down through the vehicle opening. Before putting in the transmission, lubricate both the input shaft splines and the flywheel housing guide pins with grease. When setting up the transmission, align the input shaft as you place it in position. Tighten the mounting bolts to their correct torques. Reconnect the sending units, shift rod bracket, and clutch slave cylinder, making sure everything fits together well and matches how it was before. Also verify that the driveshaft was installed properly during reconstruction. Ensure that the transmission fluid is at the right level, and add some if needed.Answered by BMW Parts Specialist Adrian / Mar 20, 2025

