×
- Hello
- Login or Register
- Quick Links
- Live Chat
- Track Order
- Parts Availability
- RMA
- Help Center
- Contact Us
- Shop for
- BMW Parts
- BMW Accessories

My Garage
My Account
Cart
Genuine 2006 BMW X5 Drive Shaft
Axle Shaft- Select Vehicle by Model
- Select Vehicle by VIN
Select Vehicle by Model
orSeries
Model
Year
Select Vehicle by VIN
For the most accurate results, select vehicle by your VIN (Vehicle Identification Number).
7 Drive Shafts found
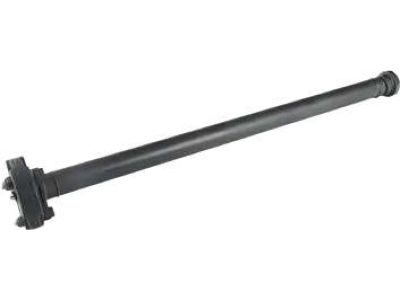
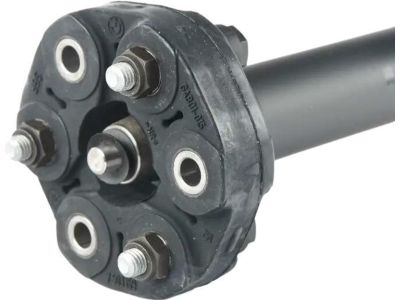
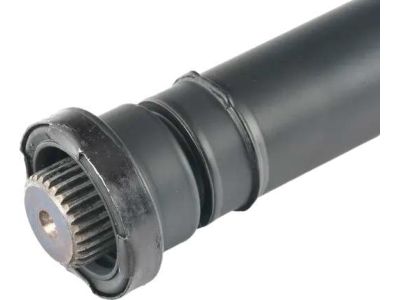
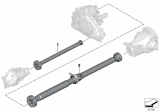
2006 BMW X5 Front Drive Shaft Assembly
Part Number: 26201229606$1219.57 MSRP: $1595.71You Save: $376.14 (24%)Ships in 1-3 Business DaysProduct Specifications- Other Name: Drive Shaft Assy Front; Drive Shaft
- Position: Front
- Item Weight: 27.30 Pounds
- Condition: New
- Fitment Type: Direct Replacement
- SKU: 26201229606
- Warranty: This genuine part is guaranteed by BMW's factory warranty.
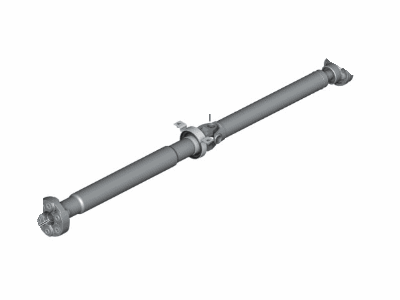
2006 BMW X5 Rear Drive Shaft Assembly
Part Number: 26107503101$1473.13 MSRP: $1927.47You Save: $454.34 (24%)Ships in 1-3 Business DaysProduct Specifications- Other Name: Drive Shaft Assy Rear; Drive Shaft
- Position: Rear
- Item Weight: 26.30 Pounds
- Condition: New
- Fitment Type: Direct Replacement
- SKU: 26107503101
- Warranty: This genuine part is guaranteed by BMW's factory warranty.
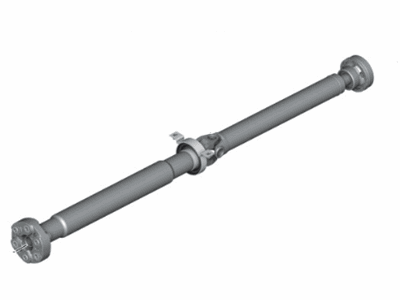
2006 BMW X5 Rear Drive Shaft Assembly
Part Number: 26107549298$1524.45 MSRP: $1994.62You Save: $470.17 (24%)Ships in 1-3 Business DaysProduct Specifications- Other Name: Drive Shaft Assy Rear; Drive Shaft
- Position: Rear
- Replaces: 26-10-7-524-364
- Item Weight: 27.00 Pounds
- Condition: New
- Fitment Type: Direct Replacement
- SKU: 26107549298
- Warranty: This genuine part is guaranteed by BMW's factory warranty.
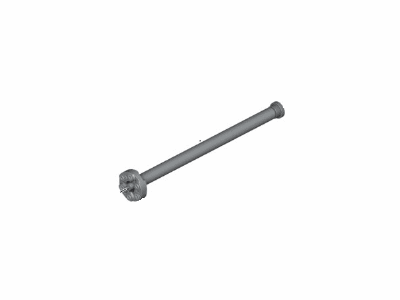
2006 BMW X5 Front Drive Shaft Assembly
Part Number: 26207508629$1198.00 MSRP: $1567.48You Save: $369.48 (24%)Ships in 1-3 Business DaysProduct Specifications- Other Name: Drive Shaft Assy Front; Drive Shaft
- Position: Front
- Item Weight: 26.00 Pounds
- Condition: New
- Fitment Type: Direct Replacement
- SKU: 26207508629
- Warranty: This genuine part is guaranteed by BMW's factory warranty.
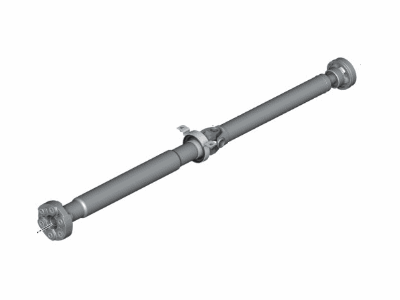
2006 BMW X5 Rear Drive Shaft Assembly
Part Number: 26107549305$1524.45 MSRP: $1994.62You Save: $470.17 (24%)Ships in 1-3 Business DaysProduct Specifications- Other Name: Drive Shaft Assy Rear; Drive Shaft
- Position: Rear
- Replaces: 26-10-7-529-661
- Item Weight: 27.00 Pounds
- Condition: New
- Fitment Type: Direct Replacement
- SKU: 26107549305
- Warranty: This genuine part is guaranteed by BMW's factory warranty.
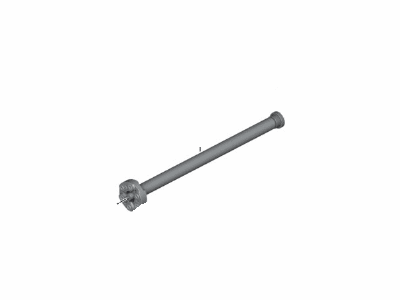
2006 BMW X5 Front Drive Shaft Assembly
Part Number: 26207524371$1178.50 MSRP: $1541.97You Save: $363.47 (24%)Ships in 1-3 Business DaysProduct Specifications- Other Name: Drive Shaft Assy Front; Drive Shaft
- Position: Front
- Item Weight: 26.80 Pounds
- Condition: New
- Fitment Type: Direct Replacement
- SKU: 26207524371
- Warranty: This genuine part is guaranteed by BMW's factory warranty.
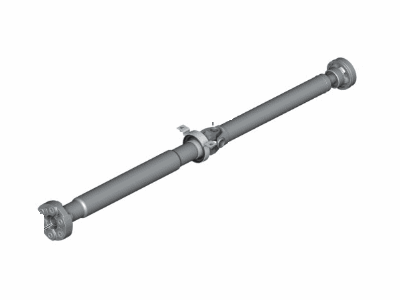
2006 BMW X5 Rear Drive Shaft Assembly
Part Number: 26107510001$1524.45 MSRP: $1994.62You Save: $470.17 (24%)Ships in 1-3 Business DaysProduct Specifications- Other Name: Drive Shaft Assy Rear; Drive Shaft
- Position: Rear
- Item Weight: 25.50 Pounds
- Condition: New
- Fitment Type: Direct Replacement
- SKU: 26107510001
- Warranty: This genuine part is guaranteed by BMW's factory warranty.
2006 BMW X5 Drive Shaft
Are you in need of a high-quality yet affordable OEM 2006 BMW X5 Drive Shaft? Look no further. Our website boasts an extensive selection of genuine 2006 BMW X5 Drive Shaft, all priced competitively. Plus, our top-notch customer service and speedy delivery options ensure a seamless shopping experience for you.
2006 BMW X5 Drive Shaft Parts Questions & Experts Answers
- Q:What steps should be taken prior to the installation of the rear drive shaft and CV joint on 2006 BMW X5?Posted by Younes B.A:Before the installation check the condition of the centering dowel on the transfer case output flange and the centering sleeve within the driveshaft flex-disc and replace if necessary. During insertion of the centering sleeve on the centering dowel, apply light coating of molybdenum disulfide grease (Molykote Longterm 2 Plus® or as specified). To fit the CV joint, change and apply pressure to and fro to widen the joint to the maximum, scrape off all the previous grease, apply new CV joint grease and fit a new seal. Position the driveshaft in a manner that allows installation of the u-joint at the centre by arranging the matchmarks on the driveshaft flanges of the differential and the transfer case. Turn the CV joint to the position of the differential input flange and using the new nuts tightened two of the nuts on the opposite sides so as to pull the joint into the flange tightly then tighten down the rest of the nuts. It is required that CV joint should not be compressed until all the bolts and nuts have been tightened tightly so as to avoid expulsion of the grease which forces the seal to come out, and leaves the CV joint seal off. Self-locking nuts should not be reused because they are single use and do not have the same locking mechanism twice. It is advisable not to let the driveshaft suspend in the air by being hanged so as not to cause vulnerability of the CV joint rubber boot. The front flex-disc should then be bolted to the transfer case output flange by new bolts and nuts the nuts should not be tightened when the bolts are loose the bolts should be held still to avoid damaging the rubber of the flex-disc. Replace the center bearing support, install heat shields for the engine, as well as the exhaust. Last but not the least, do a test drive of the car and listen for any noise or feel any vibrations.Answered by BMW Parts Specialist Chaz / Oct 06, 2023
Related 2006 BMW X5 Parts
 2006 BMW X5 Wheel Bearing
 2006 BMW X5 Shift Cable
 2006 BMW X5 Transmission Assembly
 2006 BMW X5 Transfer Case
 2006 BMW X5 Flywheel
 2006 BMW X5 Wheel Seal
 2006 BMW X5 Axle Shaft
 2006 BMW X5 Cruise Control Switch
 2006 BMW X5 Clutch Master Cylinder
 2006 BMW X5 Clutch Disc
 2006 BMW X5 CV Joint
 2006 BMW X5 Torque Converter