×
- Hello
- Login or Register
- Quick Links
- Live Chat
- Track Order
- Parts Availability
- RMA
- Help Center
- Contact Us
- Shop for
- BMW Parts
- BMW Accessories

My Garage
My Account
Cart
Genuine 2007 BMW 335i Crankshaft Seal
- Select Vehicle by Model
- Select Vehicle by VIN
Select Vehicle by Model
orSeries
Model
Year
Select Vehicle by VIN
For the most accurate results, select vehicle by your VIN (Vehicle Identification Number).
4 Crankshaft Seals found
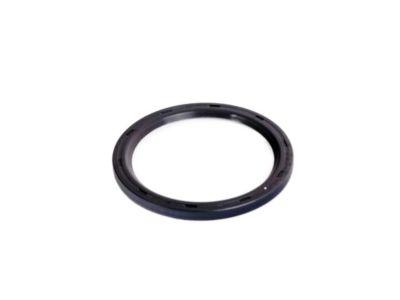

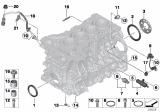
2007 BMW 335i Shaft Seal
Part Number: 11117587168$35.38 MSRP: $58.10You Save: $22.72 (40%)Ships in 1-2 Business DaysProduct Specifications- Item Weight: 0.60 Pounds
- Condition: New
- Fitment Type: Direct Replacement
- SKU: 11117587168
- Warranty: This genuine part is guaranteed by BMW's factory warranty.
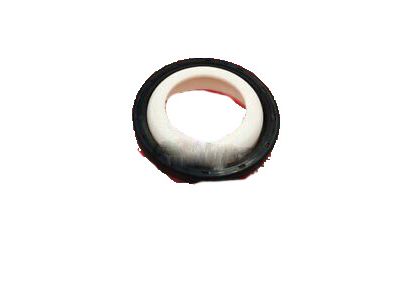

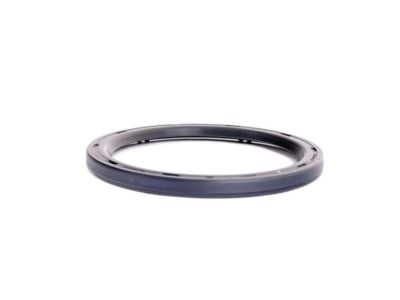
2007 BMW 335i Shaft Seal
Part Number: 11118618864$33.71 MSRP: $55.36You Save: $21.65 (40%)Ships in 1-3 Business DaysProduct Specifications- Replaces: 11-11-7-636-055, 11-11-7-593-353
- Item Weight: 0.60 Pounds
- Condition: New
- Fitment Type: Direct Replacement
- SKU: 11118618864
- Warranty: This genuine part is guaranteed by BMW's factory warranty.
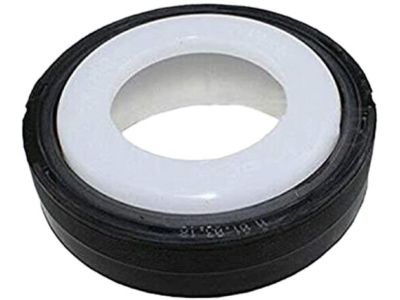
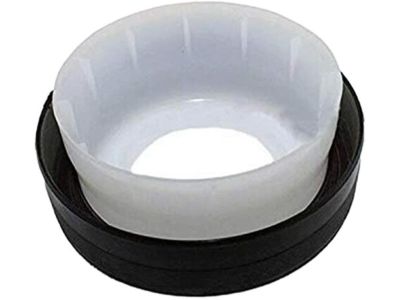
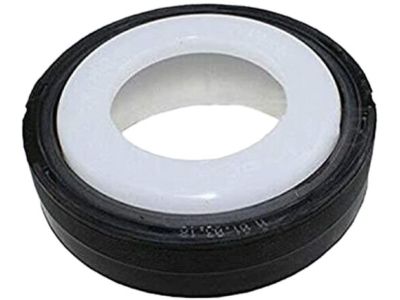
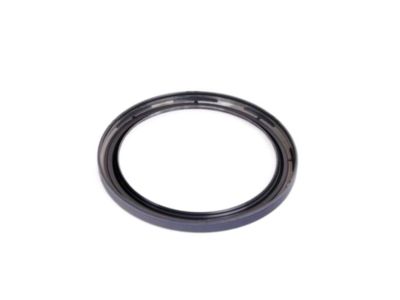
2007 BMW 335i Front Shaft Seal
Part Number: 11117547842$37.08 MSRP: $60.88You Save: $23.80 (40%)Ships in 1-2 Business DaysProduct Specifications- Other Name: Front Crank Seal
- Item Weight: 0.60 Pounds
- Condition: New
- Fitment Type: Direct Replacement
- SKU: 11117547842
- Warranty: This genuine part is guaranteed by BMW's factory warranty.
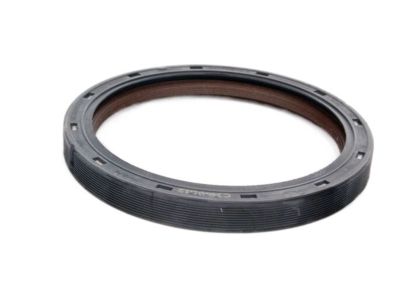
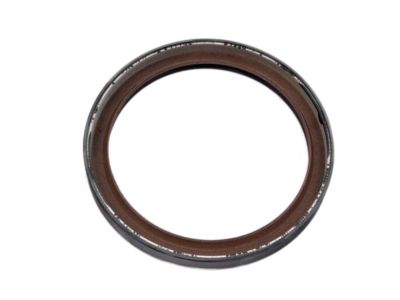
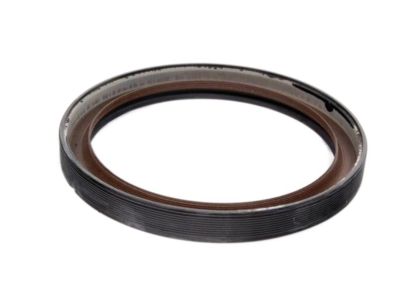
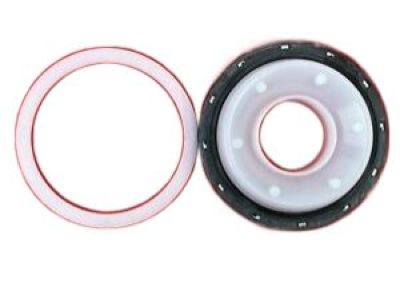
2007 BMW 335i Shaft Seal
Part Number: 11117584398$37.08 MSRP: $60.88You Save: $23.80 (40%)Ships in 1-3 Business DaysProduct Specifications- Replaces: 11-11-7-547-841
- Item Weight: 0.60 Pounds
- Condition: New
- Fitment Type: Direct Replacement
- SKU: 11117584398
- Warranty: This genuine part is guaranteed by BMW's factory warranty.
2007 BMW 335i Crankshaft Seal
Are you in need of a high-quality yet affordable OEM 2007 BMW 335i Crankshaft Seal? Look no further. Our website boasts an extensive selection of genuine 2007 BMW 335i Crankshaft Seal, all priced competitively. Plus, our top-notch customer service and speedy delivery options ensure a seamless shopping experience for you.
2007 BMW 335i Crankshaft Seal Parts Questions & Experts Answers
- Q:How to replace the front crankshaft seal to prevent oil leaks in N55 six cylinder engine on 2007 BMW 335i?Posted by Dominic S.A:When replacing the crankshaft seal, make sure all grooves on as well as seams of the crankcase are pre-filled with special Loctite® sealant to curb oil leakage, and get acquainted with the whole process before starting. This being done safely, lift the vehicle and take off the splash shield below the engine, the engine accessory belt and the vibration damper (front pulley). One of the things that should not be undone is vibration damper hub bolt, this will allow the timing chain drive sprocket rotate, in turn causing valves to be damaged. Bolt in BMW special tool 11 0 371 and tighten torque to 80Nm (59 ft-lb) and fit spindle 11 0 372 to extract the crankshaft seal from the housing, doing the same if more than one seal is required. After that, cut cautiously the crankshaft seal along the line indicated on the tool and take it out from the tool. To avoid leakage, the crank shaft seal seating surface should be clean with the vicinity around the crank case seam degreased and the sealing surface on the vibration damper hub oiled lightly. Slide the radial shaft seal onto BMW special tool 11 9 235 according to the direction indicated and then secure in position by fitting tool 11 9 234 with two bolts on the hub. Position the groove of the radial shaft seal flushed with the partition in the crankcase and fit it then by applying tool 11 9 231 together with tool 11 9 233 in a manner that it touches the crankcase. Paint the seal grooves and the crankcase seams with Loctite® 171000 (primer) and use injector kit to pour Loctite® 128357 (sealant) into it, ensure the areas that have been sealed with Loctite® 128357 (sealant) are coated with Loctite® 171000 (primer) to cement the sealant. Lastly, fit the crankshaft vibration damper and the rest of the procedures are similar to those of the process of assembly.Answered by BMW Parts Specialist Brandon / Jan 29, 2022
Related 2007 BMW 335i Parts
 2007 BMW 335i Engine Mount Bracket
 2007 BMW 335i Exhaust Hanger
 2007 BMW 335i Harmonic Balancer
 2007 BMW 335i Oil Filler Cap
 2007 BMW 335i Piston
 2007 BMW 335i Fuel Tank Filler Neck
 2007 BMW 335i PCV Valve Hose