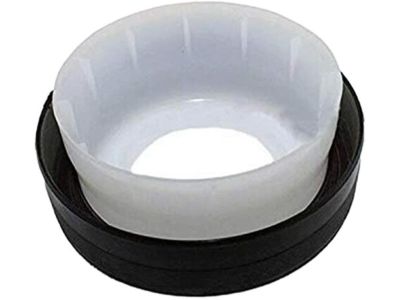
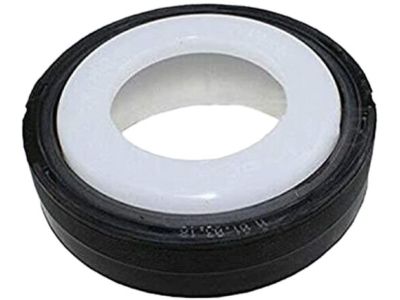
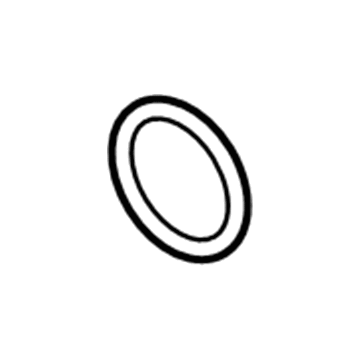
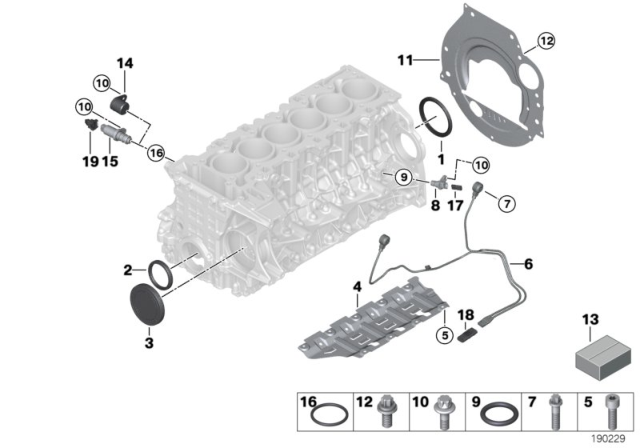
To change the crankshaft front oil seal, detach the crankshaft vibration damper. To replace the crankshaft rear oil seal, remove the flywheel/driveplate. While the flywheel/driveplate is off, this would be an ideal time to check on your vehicle's manual transmission clutch. Carefully pry out the oil seal from within a cylinder block using a flat-bladed screwdriver or a similar tool. Try as much as possible not to destroy either side of where you have placed it on your engine. Alternatively, drill two tiny opposing holes in the hard outer surface of the sealant, insert two self-tapping screws and use pliers to pull out this particular type of filler material. Before applying any lubrication between crank shaft hub and cylinder block surfaces make sure that they are cleaned up very well with clean engine oil solution. Genuine BMW seal kits come with a guide sleeve pre-fitted into the seals using Loctite sealing compound and primer at place. Set seal and guide sleeve onto crankshaft hub such that slots located at external periphery of sealer are aligned with junction in cylinder block. Apply Loctite primer supplied to both slots on outer sur-face of sealer using brush provided for that purpose only. Make sure you leave it for at least one minute before proceeding forward because most times you may find yourself running after some little mistakes which could have been avoided if enough time was given for drying process. Use right size socket or pipe to push in new oil seal squarely as possible until it becomes flush with its outer edge only then should you stop hammering; also force some Loctite primer into slot on each side of lip by means of brush supplied; inject additional loctite sealing compound by way of kit syringe into slot on each side of lip finally apply some more primer over coating sealing compound. Afterwards fit back crank shaft vibration damper or fly wheel drive plate assembly again return sequence.