×
- Hello
- Login or Register
- Quick Links
- Live Chat
- Track Order
- Parts Availability
- RMA
- Help Center
- Contact Us
- Shop for
- BMW Parts
- BMW Accessories

My Garage
My Account
Cart
Genuine BMW 335i Timing Chain
Engine Timing Chain- Select Vehicle by Model
- Select Vehicle by VIN
Select Vehicle by Model
orSeries
Model
Year
Select Vehicle by VIN
For the most accurate results, select vehicle by your VIN (Vehicle Identification Number).
3 Timing Chains found
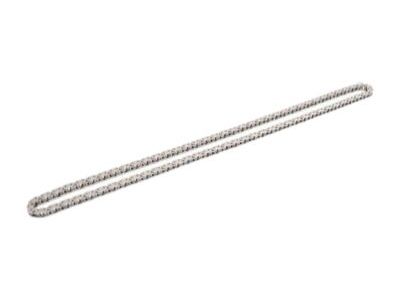
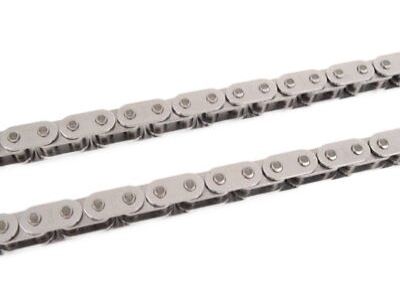
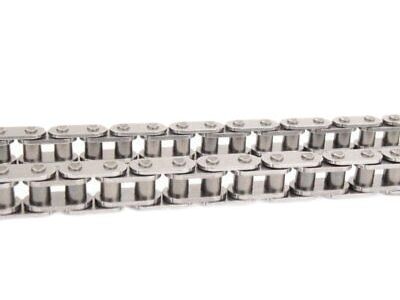
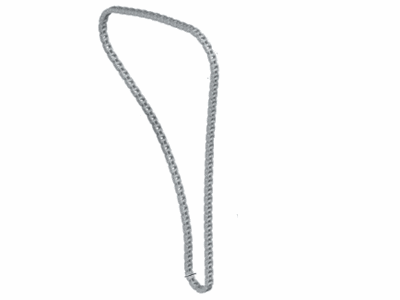
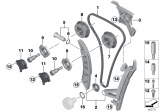
BMW 335i Timing Chain
Part Number: 11318648732$83.32 MSRP: $128.80You Save: $45.48 (36%)Ships in 1-2 Business Days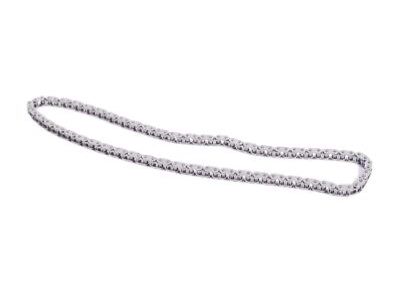
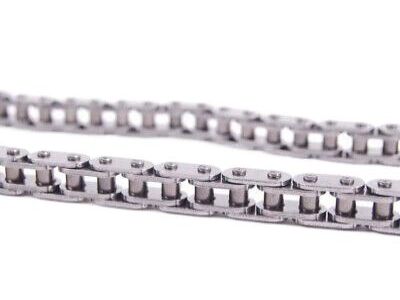
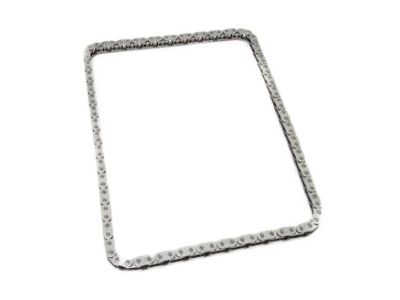
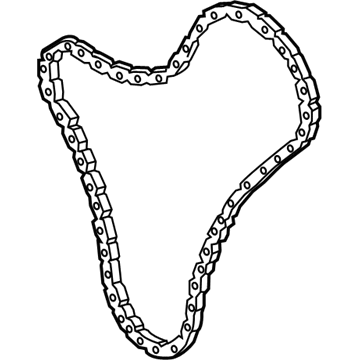
BMW 335i Chain
Part Number: 11417584079$77.15 MSRP: $119.26You Save: $42.11 (36%)Ships in 1-3 Business Days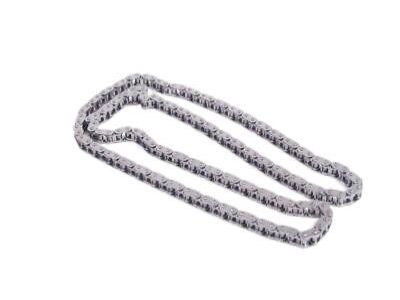
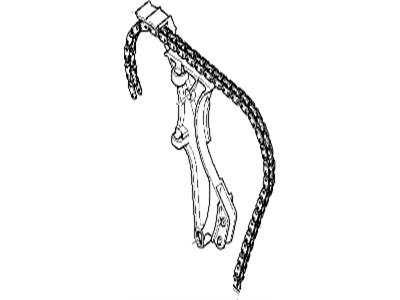
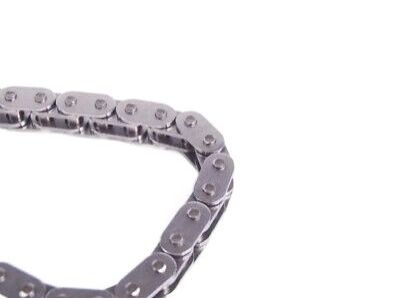
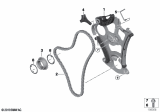
BMW 335i Engine Timing Chain
Part Number: 11318618317$83.32 MSRP: $128.80You Save: $45.48 (36%)Ships in 1-3 Business Days
BMW 335i Timing Chain
The BMW 335i Timing Chain ensures the camshaft and crankshaft continue in perfect synchronization, allowing each four-stroke cycle to fire at the correct moment for smooth power. Built from metal links that mesh with sprockets, this Timing Chain is stronger and longer-lived than a rubber belt, but it still depends on the steady flow of oil, since poor lubrication or the wrong viscosity can make a difference and create that familiar front-engine rattle that can make absolutely sure your Timing Chain is running on borrowed time. Inside every BMW 335i engine, gears, guides, and a spring-loaded tensioner keep the Timing Chain taut and prevent slack, which throws valve timing off by several degrees and steals horsepower. When it is necessary to replace the chain, drivers recommend replacing the chain with sprockets, tensioner, and guides as a set to restore accuracy and quietness. Performance-minded owners of BMW 335i may opt for roller Timing Chain sets with multiple keyways or adjustable bushings to allow cam advance for more low-end torque or retard for high-rpm punch. Some enthusiasts even opt for gear or belt drives with no stretch at all. Regular oil changes with the right grade are still the simple way to ensure a long haul healthy BMW Timing Chain in any BMW 335i.
If you are looking for OEM BMW 335i Timing Chain, we highly recommend to shop with us. Not only do we offer budget friendly prices, but we also provide fast delivery. In addition, we have a hassle-free return policy on all genuine BMW 335i Timing Chain that come backed by the manufacturer's warranty.
BMW 335i Timing Chain Parts Questions & Experts Answers
- Q:What are the steps involved in disassembling, removing, and reassembling the camshafts, camshaft adjustment units and timing chain on BMW 335i?Posted by Trina G.A:Specific equipments and new parts are needed in order to perform this repair procedure, and it is necessary to read the whole procedure before starting to repair. Lack of special tools necessary when performing disassembly, removal or assembly of camshafts or camshaft adjustment units exposes the parts to prospect of breakage or, at the very least, the valves may bend due to contact with the crowns of pistons. During the procedure unless otherwise stated the crankshaft and all camshafts are secured against rotation by applying the BMW special tools. The best here is to remove the cylinder head cover and all spark plugs, the crankshaft seal if at the front and the drive belt tensioner. Change the position of the crankshaft and position cylinder 1 at the TDC firing position with the aid of the vibration damper bolt so that the intake camshaft lobe is up. By so doing, when cylinder 1 is at TDC, one will observe that the exhaust camshaft cams point upwards. To check camshaft timing is correct, there is an orientation by part numbers or code on both intakes and exhausts, in addition the camshafts should face upwards. Screw on special tools 11 8 535 to 11 8 531, using an M10 washer with a thickness of 6 mm between the crankcase and the short screw of the special tool 11 8 535. Place special tool 11 8 537 on the sealing cap and screw in special tool 11 8 534 to expel the vacuum pump sealing cap which has to be expelled diagonally. In case the transmission is removed, tighten the flywheel with tool number 11 9 260; if the manual transmission is used, screw tool number 11 8 180 on the transmission using the bolts marked 'A' tighten the bolt labeled 'B' For an automatic transmission, fasten the flywheel by using the tool 11 8 660 through the transmission bell housing slit. Insert your finger through the vacuum pump sealing cap opening and compress the timing chain with the chain tensioner to ease tension on the oil pump chain Finally set a suitable lock pin to the chain tensioner. Take out the center bolt and it is to be pointed out that the breakaway torque is 600 Nm (440 ft-lb) and a 3/4-inch drive socket/breaker has to be used in order to loosen it. The Timing Chain Tensioner is then to be removed; the vibration absorber screws are then to be screwed in; and the hub on the crankshaft is pulled forward to be removed. Remove the connecter plugs found at the upper left of the housing and the lower right end of it and also , take out the chain guide mounting bolt at the upper left. Pop in special tool 11 4 280 and start with the center bolts on the front of the intake and exhaust camshaft adjusters and loosen and remove. Take out the intake and exhaust camshaft adjusters from the timing chain and place them aside and detach the chain tensioning rail mounting bolt at the at low right of the timing chain sprocket cover. Four bolts securing the timing chain assembly are on the front side of the cylinder head; dismantle by lifting the timing chain along with the timing chain assembly and crankshaft sprocket from the timing chain housing. Remove the timing chain from the ID and rail and crankshaft sprocket and fit a new timing chain. Align the crankshaft sprocket with the chain positioning the collar facing the engine, this is to ensure that the sprocket is assembled in the right way so that an engine is not ruined. Stretch the timing chain until the sprocket meshes with the chain guide and then fix the timing chain and the chain assembly into the housing with an appropriate tension of the chain. Bolt on the timing chain assembly and its rail together with its guide bolts and tighten in the correct manner. After engaging the crankshaft, fix a new bolt with the place for the crankshaft hub; then torque from the centred bolt using an angle protractor. Fit a new crankshaft seal; refit the camshaft adjustment units with the note that exhaust and intake units are not identical. Introduce the camshaft timing and tighten the adjustment unit mounting bolts; thereafter, fit the timing chain tensioner. Take out the locking tools and rotate the engine two full revolutions, adjust the camshaft timed if it is required. Finally the new sealing cap for the vacuum pump is fitted until it lies flush with the upper part of the crankcase, and the rest of the procedure can be said to be a reversal of the process of removal.Answered by BMW Parts Specialist Javier / May 23, 2024