×
- Hello
- Login or Register
- Quick Links
- Live Chat
- Track Order
- Parts Availability
- RMA
- Help Center
- Contact Us
- Shop for
- BMW Parts
- BMW Accessories

My Garage
My Account
Cart
Genuine BMW 428i Radius Arm
Front Suspension Radius Arm- Select Vehicle by Model
- Select Vehicle by VIN
Select Vehicle by Model
orSeries
Model
Year
Select Vehicle by VIN
For the most accurate results, select vehicle by your VIN (Vehicle Identification Number).
3 Radius Arms found
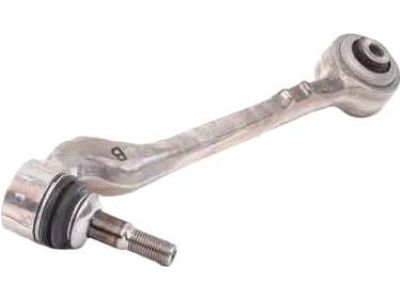
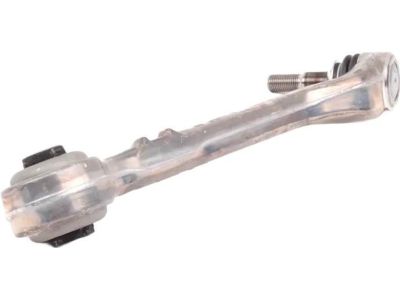
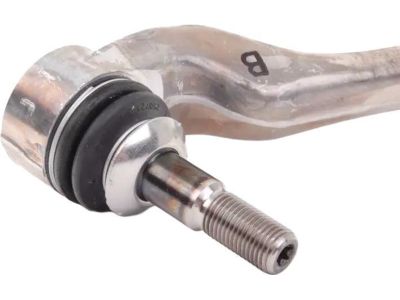
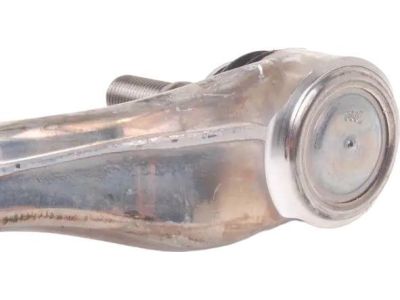
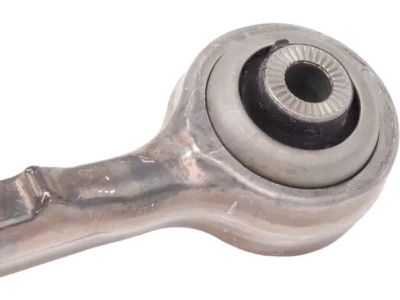
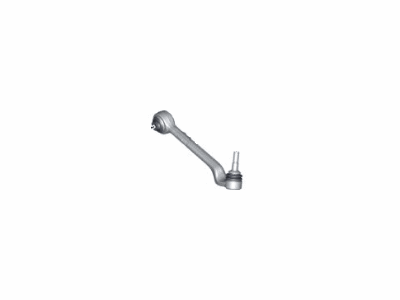
BMW 428i Right Wishbone
Part Number: 31126852992$167.94 MSRP: $245.79You Save: $77.85 (32%)Ships in 1-3 Business Days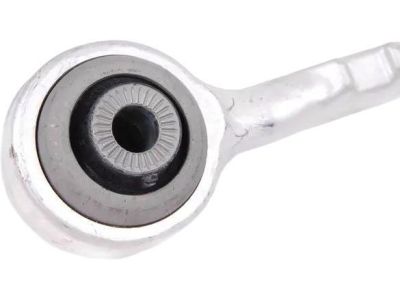
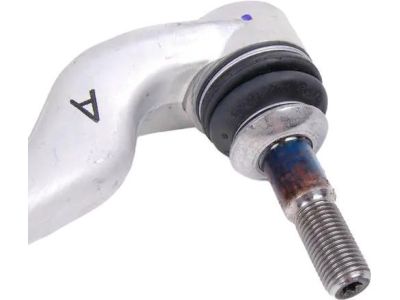
BMW 428i Left Wishbone
Part Number: 31126852991$167.94 MSRP: $245.79You Save: $77.85 (32%)Ships in 1-3 Business Days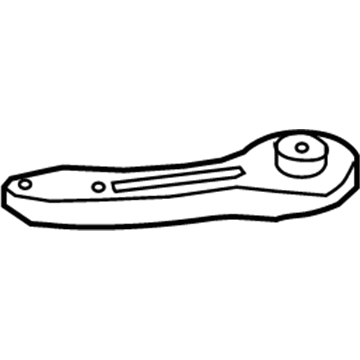
BMW 428i Push Rod
Part Number: 33326792554$34.42 MSRP: $48.72You Save: $14.30 (30%)Ships in 1-3 Business Days
BMW 428i Radius Arm
The BMW 428i Radius Arm functions as the key suspension component for BMW 428i models because of its dependable nature and remarkable performance abilities. The essential part links the axle to the vehicle structure and controls wheel dynamics for improved stability during safe operations. Extensive wheel motion gets controlled by the BMW 428i Radius Arm thus enabling precise handling and steering capabilities that have established it as a leading market feature. Different versions of the 428i coupe convertible and gran coupe can benefit from its safety features and improved operational efficiency through the usage of this Radius Arm design. Designed with stamped steel or aluminum materials the BMW 428i Radius Arm achieves weight minimization along with functional reliability which improves vehicle performance. Vehicle requirements determine performance through the selection of transverse and longitudinal radius arm designs available in the market. The BMW 428i showcases excellent driving performance as a member of the first-generation 4 Series because the Radius Arm supports stability control. As a fuel-efficient car with exceptional acceleration the BMW car achieves reliable performance levels through its installation of a high-quality Radius Arm which appeals to enthusiasts. As an essential component of the automaker model's framework the Radius Arm enhances the vehicle's performance by combining safe travel with thrilling control and gas mileage excellence.
If you are looking for OEM BMW 428i Radius Arm, we highly recommend to shop with us. Not only do we offer budget friendly prices, but we also provide fast delivery. In addition, we have a hassle-free return policy on all genuine BMW 428i Radius Arm that come backed by the manufacturer's warranty.
BMW 428i Radius Arm Parts Questions & Experts Answers
- Q:How to remove and install the radius arm tension strut on BMW 428i?Posted by Lithaniel S.A:Raise the car and remove the wheel, then remove the lower engine cover; working at the left or right front bumper corner, unfasten and fold down the splash shield to access the Radius Arm bolt; for AWD, remove the front axle from the Steering Knuckle for clearance to remove the Radius Arm from the steering knuckle; remove the Radius Arm fasteners and lightly tap the Radius Arm mounting bolt out of the front subframe, then remove the Radius Arm nut, using a Torx socket (T40) if necessary to prevent the joint from turning; separate the ball joint from the steering knuckle and remove the Radius Arm. Caution, take care not to damage the ball joint threads if reusing the Radius Arm; reinstall in reverse order: ensure thread bores, bolts, nuts and mating surfaces are clean; install the bushing end of the Radius Arm to the subframe using new fasteners but do not tighten the nut at this time; install the Radius Arm ball joint to the steering knuckle using a new self-locking nut and tighten fully; install the wheel and lower the car; tighten the bushing end of the Radius Arm to the subframe with the car on the ground and loaded, bouncing the suspension a few times before final tightening; check vehicle alignment.Answered by BMW Parts Specialist Chaz / Jun 01, 2022